Click Testimonials in the left sidebar.
The login screen — enter your username and password, then click Login.
Healing Thai Massage By Napa
How to update your website using TinaCMS
Everything you edit here updates your live website automatically once you click Save. There is no separate "publish" button. If you make a mistake, click Reset to undo your changes before saving.
How to access the admin panel on your website
Open any web browser and go to:
www.napahealingthaimassages.com/admin/index.html
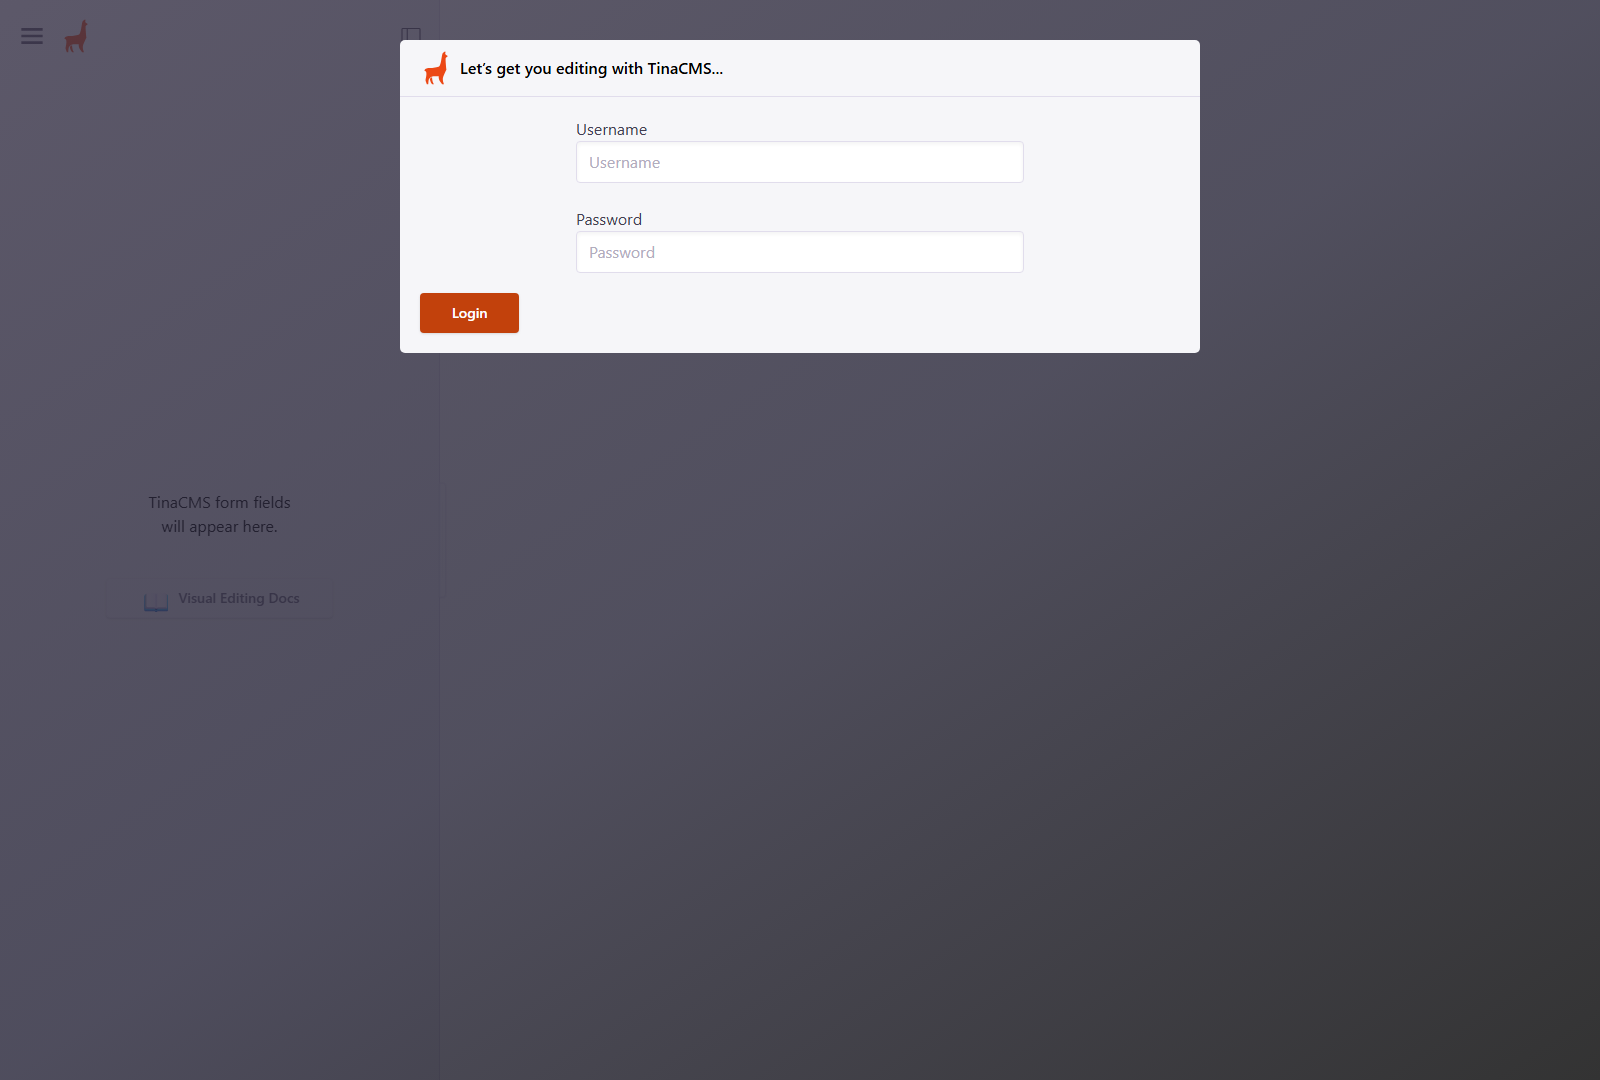
You will see the login screen below. Enter your username and password, then click Login.
The login screen — enter your username and password, then click Login.
Username: admin
Password: your password (ask Damien if you've forgotten it)
After logging in, you will land on the main dashboard.
Your home screen — where everything starts
Once you are logged in, you will see the dashboard. Click the menu icon (three lines, top-left) to open the navigation panel on the left side.
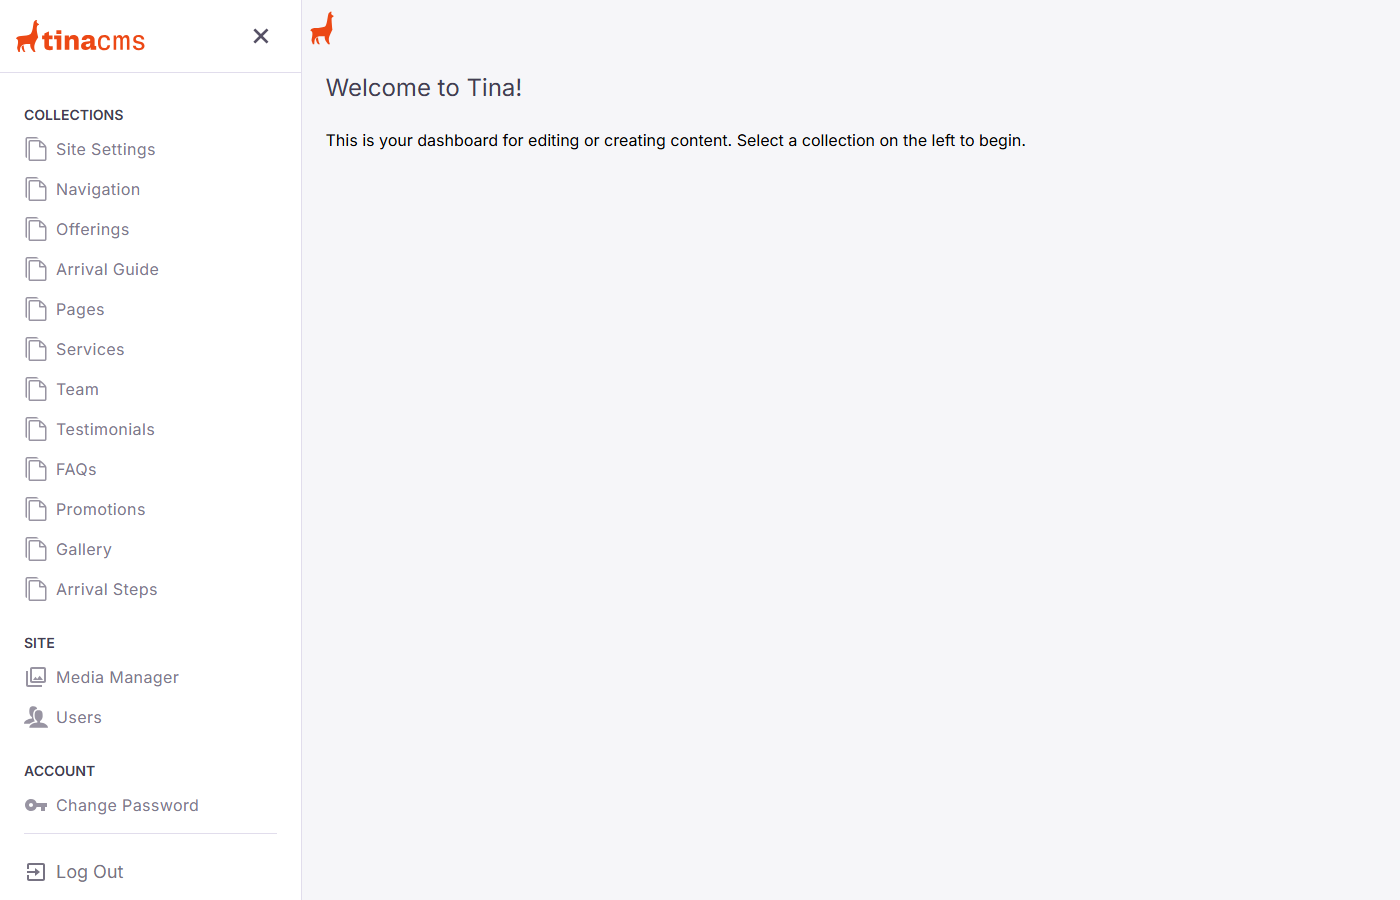
The dashboard with the sidebar open. Click any item in the left panel to open that section.
The left panel shows everything you can edit, organised into two groups:
| Section | What it controls |
|---|---|
| Testimonials | Guest reviews shown on your website |
| FAQs | Your "Frequently Asked Questions" section |
| Services | Your massage service names and descriptions |
| Site Settings | Your phone number, address, and business details |
| Team | Your therapist profile (your own bio) |
| Promotions | The callout cards on your homepage |
| Arrival Steps | Your "How to find us" guide with photos |
Adding new reviews and approving them to appear on the site
This is likely the section you will use most often. When a guest leaves you a review — whether by email, text, or Google — you can add it here and choose whether it appears on your website.
Click Testimonials in the left sidebar. You will see a list of all your current reviews.
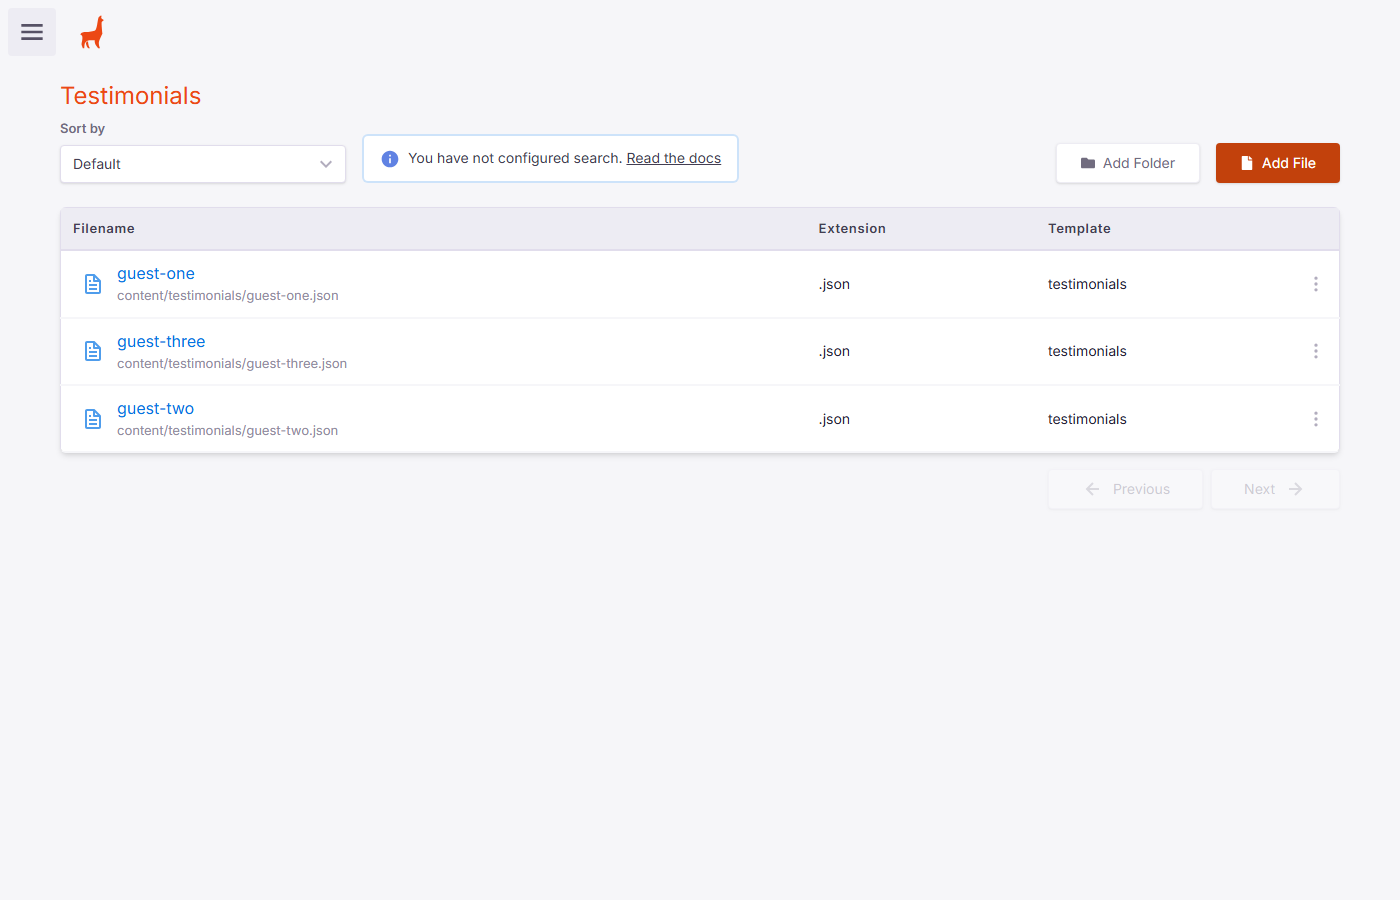
Your testimonials list. Each item is one review. Click a file name (in blue) to open and edit it.
Click any blue file name to open that review and edit it.
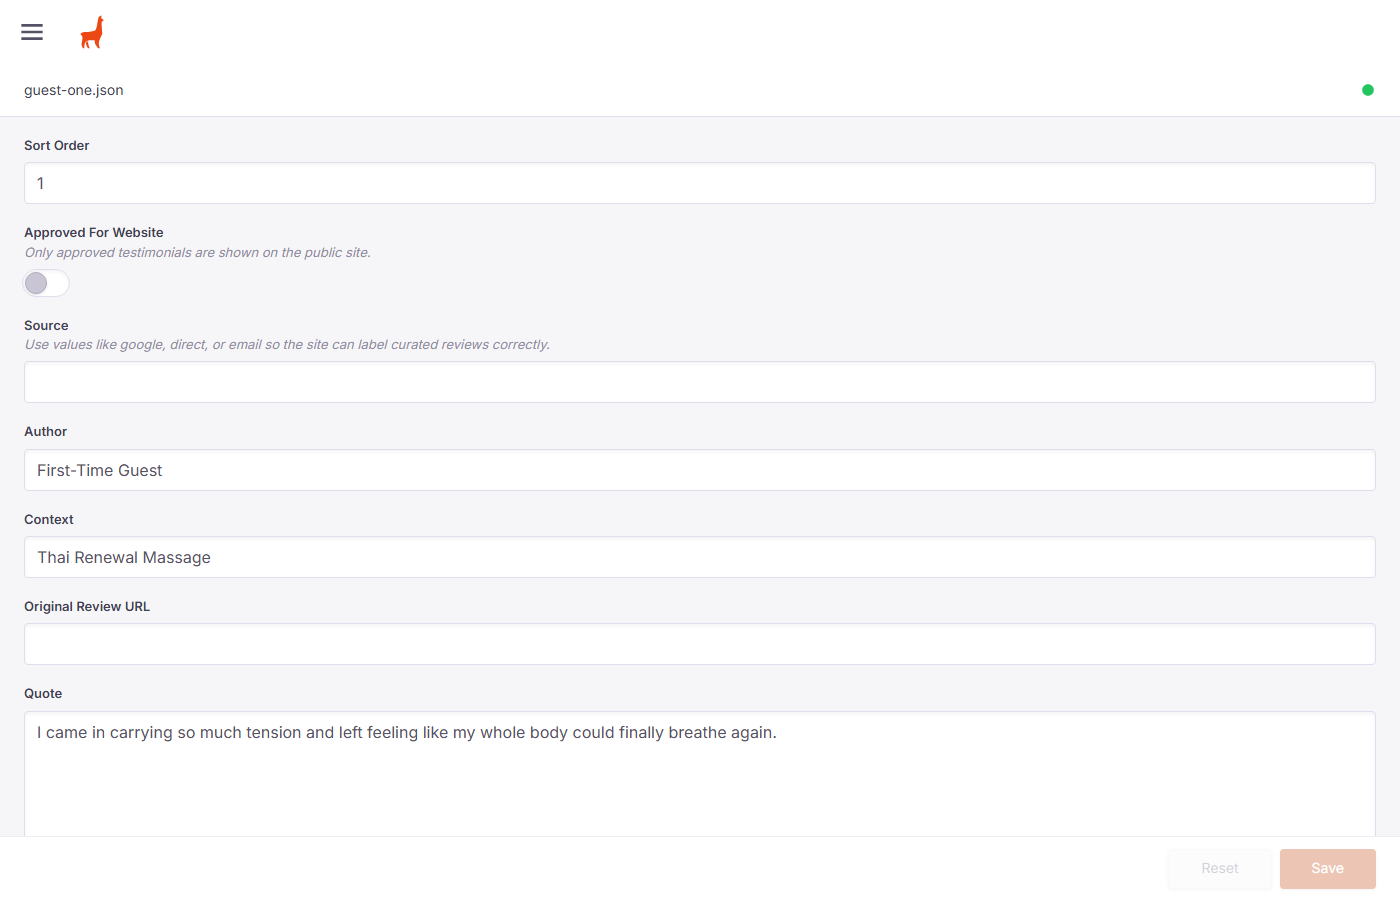
The edit form for a single testimonial. Fill in the fields and click Save when done.
| Field | What to put here | |
|---|---|---|
| Approved For Website | Toggle this ON (green) for the review to show on the public website. Leave it OFF if you are not sure yet. | Important |
| Author | The guest's first name (or first name + last initial). Example: Sarah M. | Required |
| Quote | The review text, exactly as the guest wrote it. | Required |
| Context | Which service they received. Example: Traditional Thai Massage | Optional |
| Source | Where the review came from: google, direct, or email | Optional |
| Original Review URL | If the review is on Google, paste the link to it here. | Optional |
| Sort Order | Controls the order reviews appear. Lower numbers appear first (1 = first). | Optional |
Click Testimonials in the left sidebar.
Click the orange Add File button in the top-right corner.
You will be asked for a filename. Use something simple like guest-four (no spaces, lowercase).
Fill in the Author, Quote, and any other fields.
Toggle Approved For Website ON if you want it to show immediately.
Click Save. The review will appear on your website within a few minutes.
Only reviews with "Approved For Website" turned ON will appear on your public site. This lets you save a review without publishing it right away — useful if you want to check the wording first.
Editing the frequently asked questions on your website
Your website has a "Frequently Asked Questions" section. You can add new questions, update existing answers, or change the order they appear.
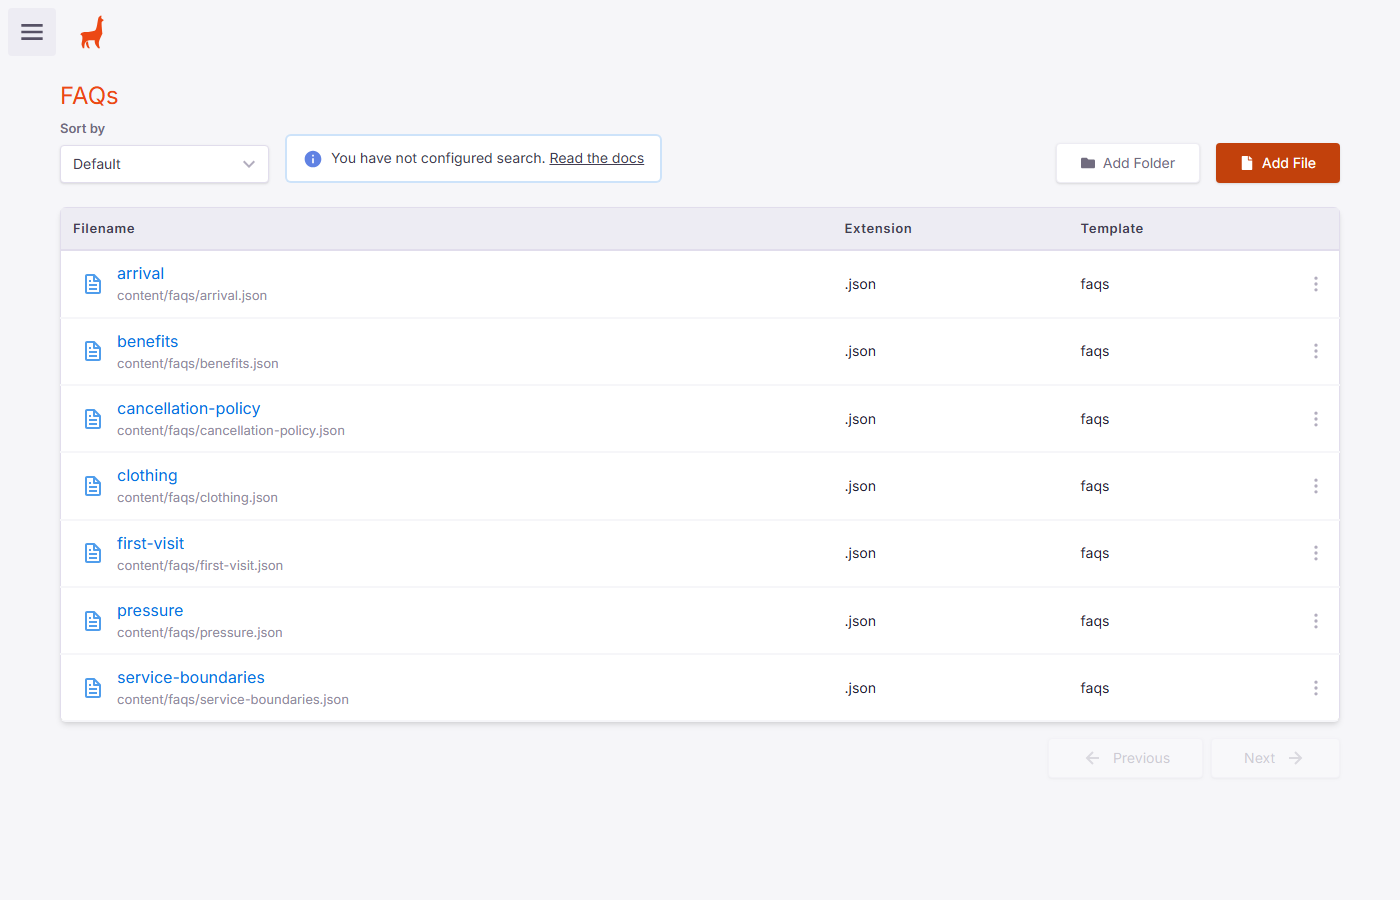
Your FAQs list. Each file is one question and answer pair. Click any blue name to edit it.
Click any FAQ to open it and edit the question or answer text.
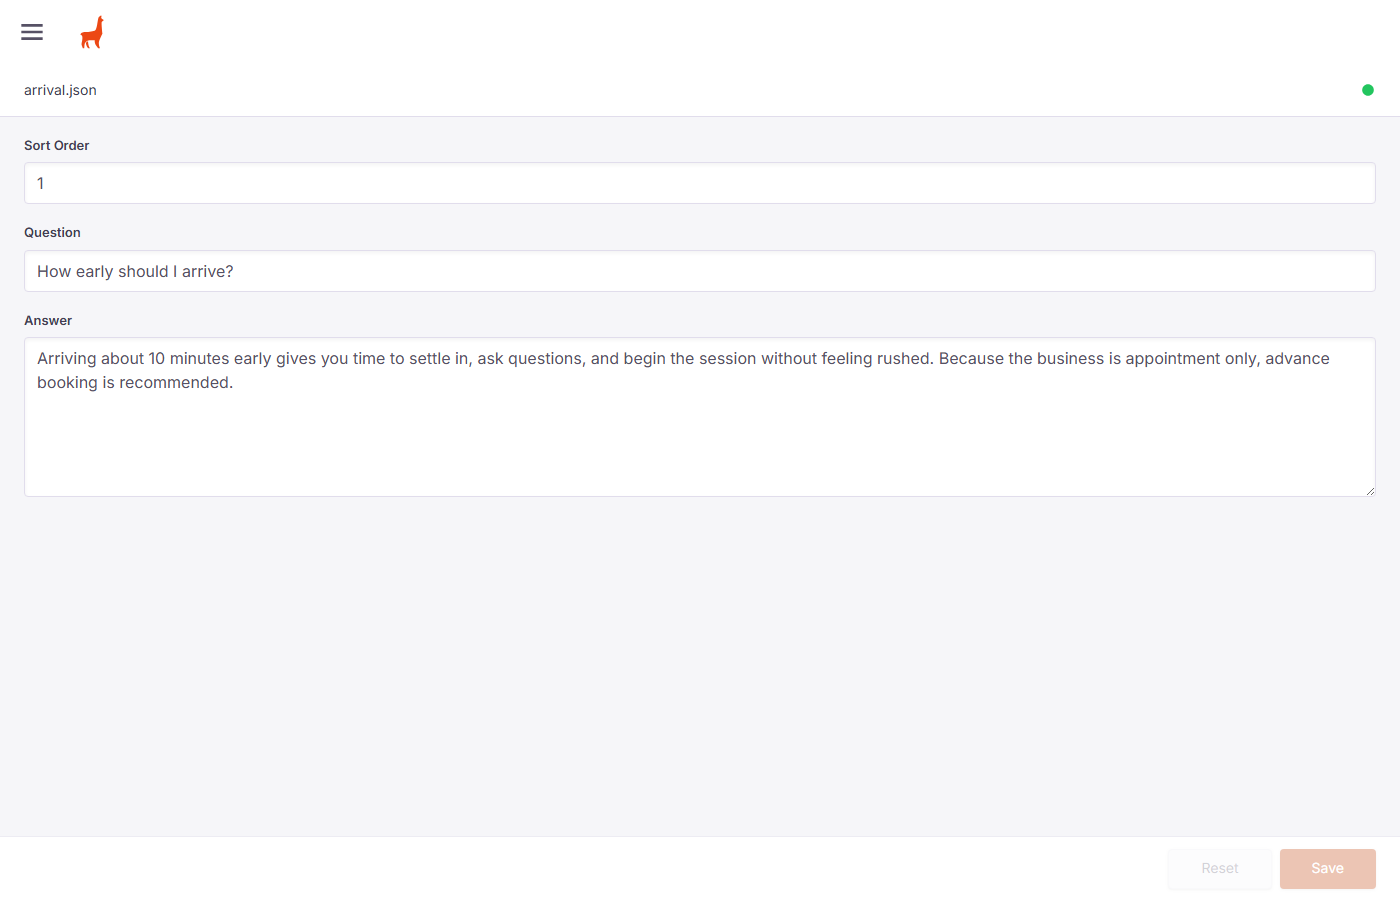
The edit form for a single FAQ. Update the Question or Answer text and click Save.
| Field | What to put here |
|---|---|
| Question | The question text — exactly as it will appear on the website. |
| Answer | Your answer. Keep it friendly and clear. |
| Sort Order | Controls the order — lower numbers appear first (1 = first question shown). |
Click FAQs in the left sidebar.
Click Add File (orange button, top-right).
Give it a short filename — something like payment-methods or gift-cards (lowercase, no spaces).
Type your question and answer, set a Sort Order number, then click Save.
Editing your massage service names, descriptions, and prices
Each massage type you offer has its own page on the website. You can update the description and summary text here.

Your services list. Each file is one massage type. Click a name (in blue) to edit it.
Click any service to open its edit form.
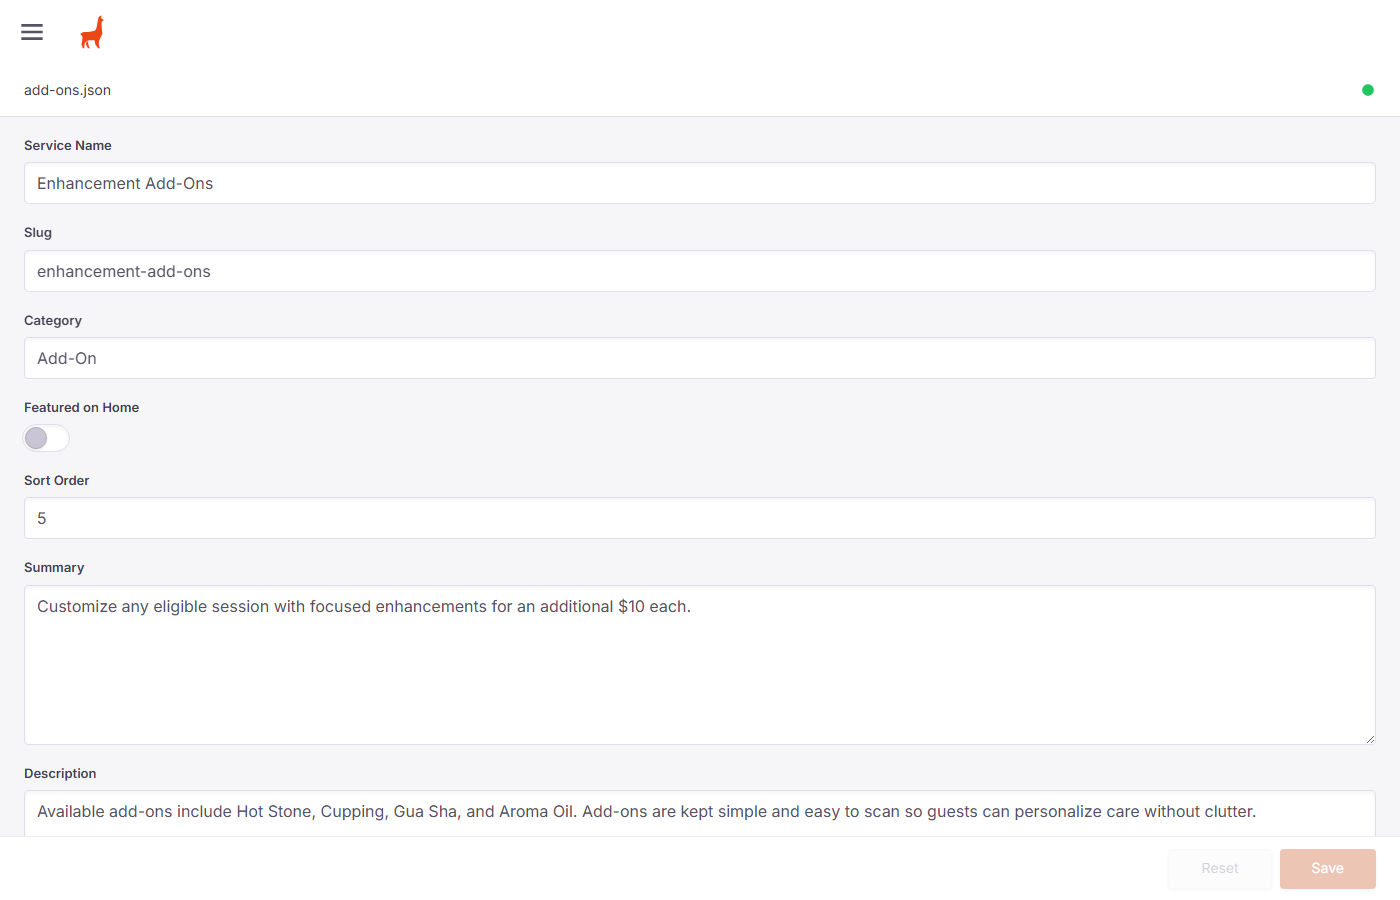
The edit form for a single service. The Summary and Description are the most commonly updated fields.
| Field | What to put here | |
|---|---|---|
| Service Name | The display name of the massage. Example: Traditional Thai Massage | Rarely change |
| Summary | A short 1–2 sentence description shown on the services overview page. | Most edited |
| Description | The longer explanation shown on the service's own page. | Most edited |
| Featured on Home | Toggle ON to show this service on your home page. | Optional |
| Sort Order | Controls the order services are listed. Lower numbers appear first. | Optional |
| Slug | The URL path — do not change this unless advised, as it affects the web address. | Leave alone |
If you update a price, change it in the Summary and Description fields where the price is mentioned in the text. There is no separate price field — prices are written into the description.
Updating your business name, phone number, address, and footer text
Site Settings controls the business-wide information that appears throughout your website — the footer, contact page, and other places. You should rarely need to change this, but if your phone number or address changes, this is where to update it.
Click Site Settings in the left sidebar. Unlike most sections, this opens directly to a form (there is no list — there is only one settings file).
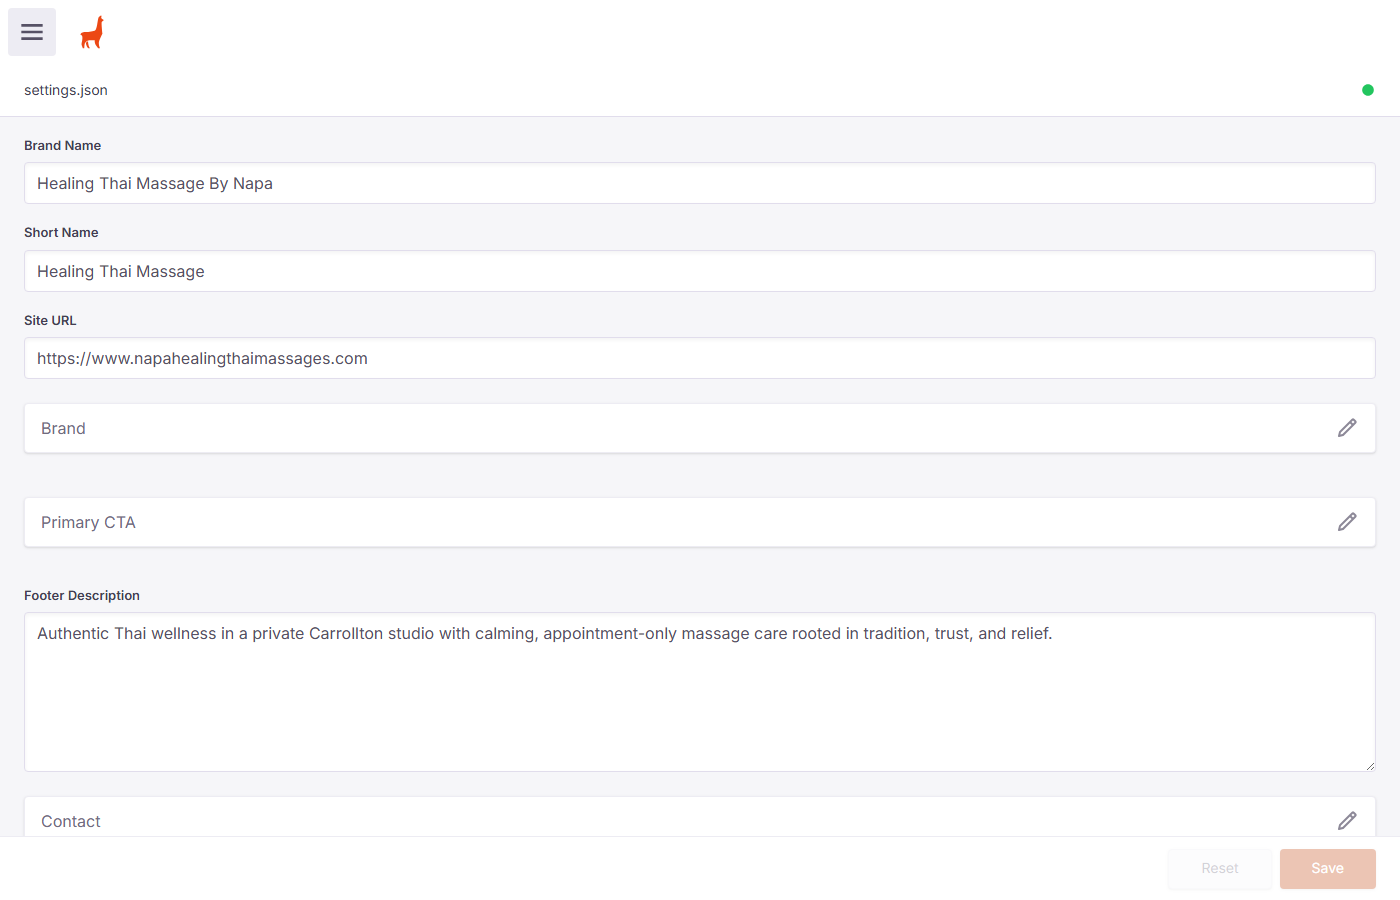
The Site Settings form. Scroll down to find your phone number, address, and contact information.
| Field | What to put here |
|---|---|
| Brand Name | Your full business name: Healing Thai Massage By Napa |
| Short Name | The shorter version used in some places: Healing Thai Massage |
| Footer Description | The tagline shown in the website footer. |
| Contact (expand) | Click the pencil icon next to "Contact" to expand it — this is where your phone number, email, address, and Google Maps information live. |
Changes here affect every page of your website. Double-check your edits before saving. If you accidentally break something, click Reset (bottom-right) before clicking Save to undo your changes.
Updating your bio and therapist description
The Team section holds your therapist profile — your name, role, and the bio text that appears on your About page. Currently there is one profile: yours.
Click Team, then click napa to open your profile.
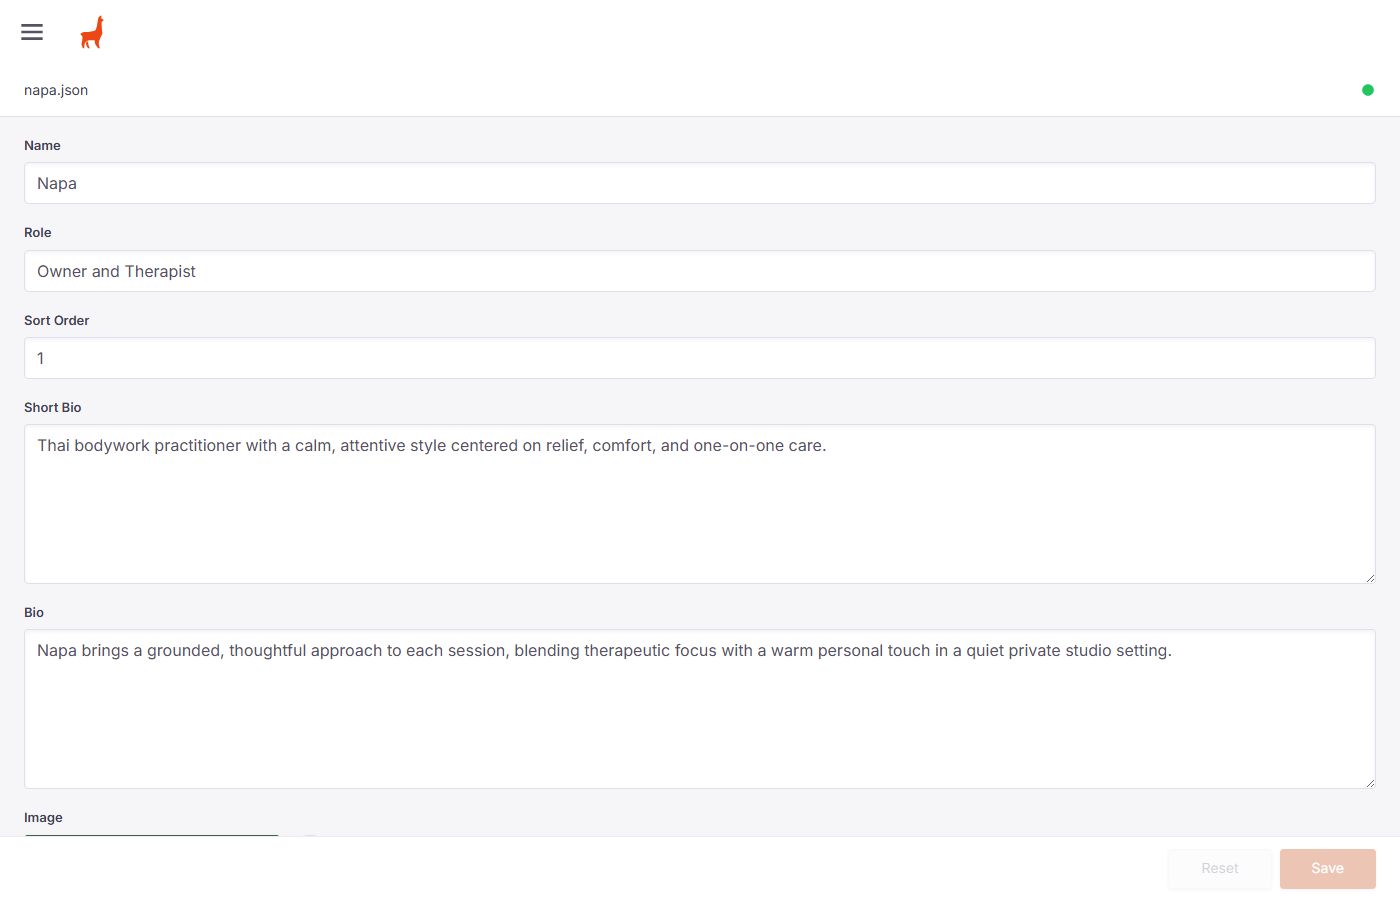
Your therapist profile. The Short Bio and Bio fields are the ones you are most likely to update.
| Field | What to put here |
|---|---|
| Name | Your first name: Napa |
| Role | Your title: Owner and Therapist |
| Short Bio | A 1–2 sentence summary shown in smaller spaces on the site. |
| Bio | Your full biography shown on the About page. This can be several sentences. |
| Image | Your profile photo. You can replace it by clicking the image area and uploading a new photo. |
Updating the callout cards on your homepage
Promotions are the featured highlight cards that appear on your home page — for example a "Gifting" card or a "First Visit" card. You can update the text for these as seasons change or when you want to promote something new.
Click Promotions in the left sidebar, then click any promotion to edit it.
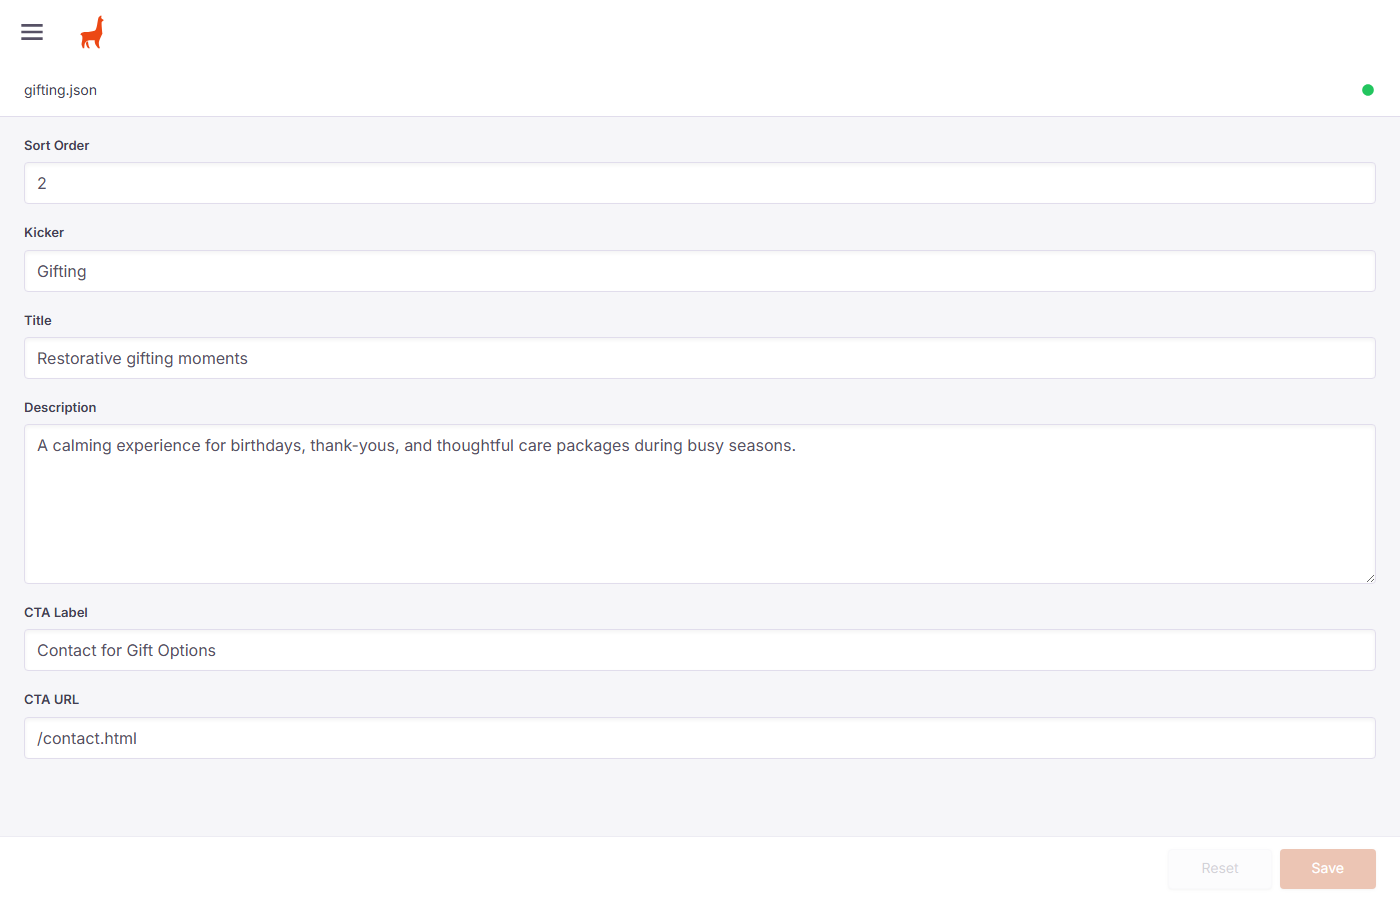
A promotion's edit form. Update the Title and Description to change what appears on the homepage card.
| Field | What to put here |
|---|---|
| Kicker | The small label above the title (like a category tag). Example: Gifting |
| Title | The main headline of the card. Example: Restorative gifting moments |
| Description | A short sentence explaining the promotion. |
| CTA Label | The text on the button. Example: Contact for Gift Options |
| CTA URL | Where the button links to. Example: /contact.html |
| Sort Order | Controls the order the cards appear. Lower numbers appear first. |
Updating your "How to find us" photo guide
The Arrival Steps section controls the step-by-step photo guide that helps guests find the studio. Each step has a title, a description, and a photo. If the building entrance changes or you want to update the photos, edit it here.
Click Arrival Steps, then click any step to edit it.
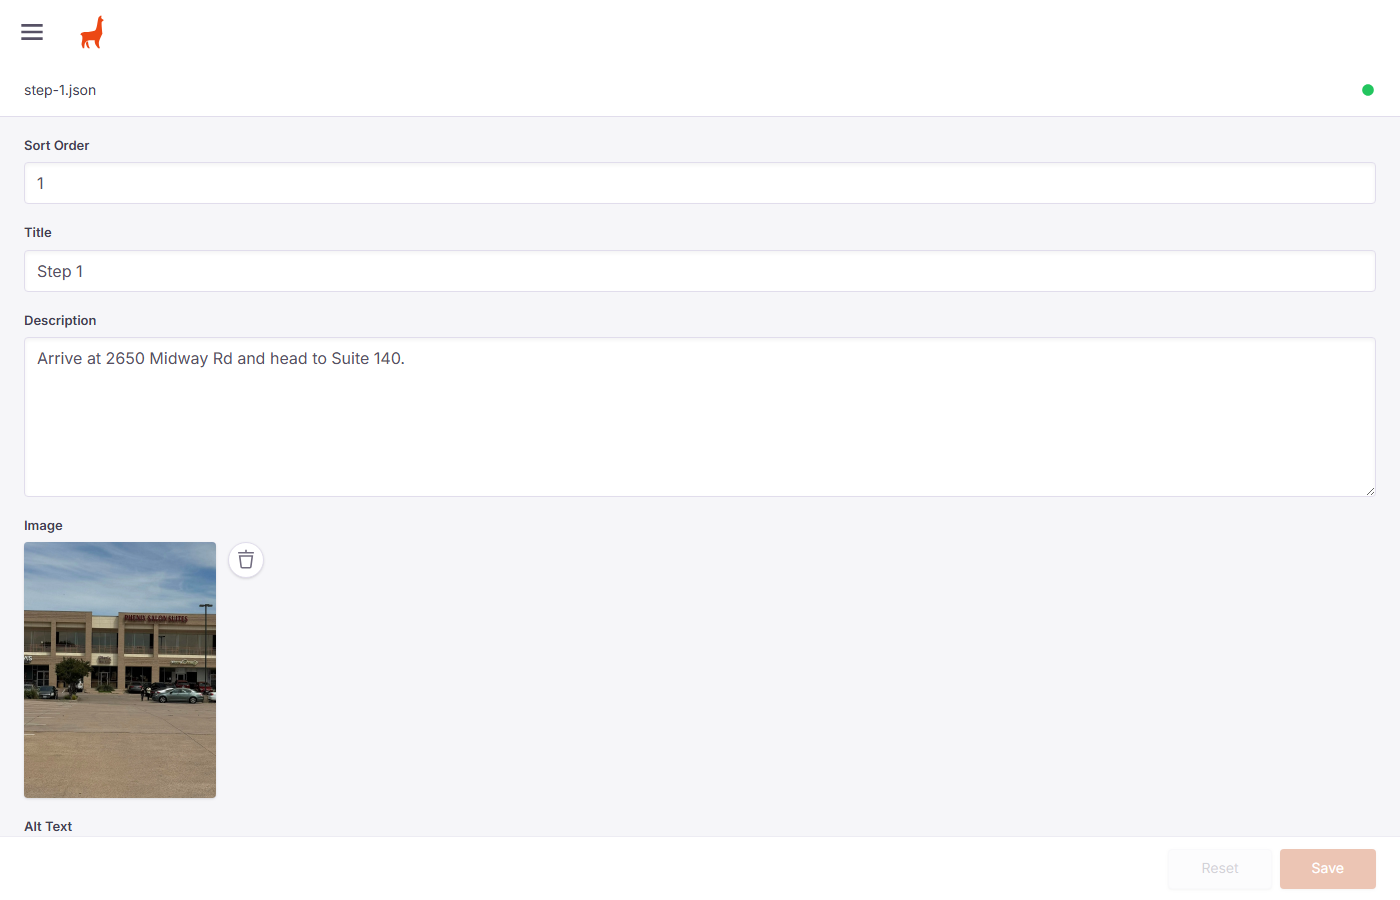
An arrival step's edit form. Update the description text or swap out the photo as needed.
| Field | What to put here |
|---|---|
| Title | The step label. Example: Step 1 |
| Description | Clear directions for this step. Keep it simple and specific. |
| Image | A photo for this step. Click the photo to replace it with a new upload. |
| Alt Text | A short description of the photo for screen readers. Example: Building entrance at 2650 Midway Rd |
| Sort Order | The order the steps appear. Start with 1 for the first step. |
Click the existing photo to select it, then click the trash icon to remove it. An upload area will appear — click it to choose a photo from your computer. Supported formats: JPG, PNG, and WebP.
What happens when you click Save — and how to undo mistakes
Every edit form has two buttons in the bottom-right corner: Reset and Save.
| Button | What it does |
|---|---|
| Save | Saves your changes and updates the live website. Changes typically appear within 1–3 minutes. |
| Reset | Undoes all changes you made since you last saved. Use this if you made a mistake before clicking Save. |
Once you click Save, the change is published to your live website. There is no "draft" mode. If you save something incorrectly, just reopen the item, fix the text, and save again.
You may notice a small green dot in the top-right corner of the edit form. This means your changes are saved and synced. If you see a different colour (orange or red), wait a few seconds and try saving again.
Usually within 1–3 minutes. If you check immediately after saving, you might still see the old version. Refresh the page after a few minutes.
Go back to the same section, click the item, correct the text, and click Save again. The new correct version will replace the old one.
Yes. If you close the browser or navigate away before clicking Save, any unsaved changes are gone. Always click Save before closing.
Try refreshing the page. If it asks you to log in again, just enter your username and password. If problems continue, contact Damien.
Healing Thai Massage By Napa · Website Content Guide · April 2026
For technical support, contact Damien James